How to make an award-winning costume in very little time, or: A Day In The Life Of A Pumpkin 🎃
This blog post was written for 10up's internal blog, and was published the day of Halloween in 2022.
I had received several questions about the pumpkin head I wore to the monthly all-hands meeting on the Thursday before Halloween, including how I could even see while wearing the pumpkin. This blog post was the reaction.
This post contains the view from the inside: the development process, resources used, a user experience study, client feedback, lessons learned, and next steps in this pumpkin’s development.

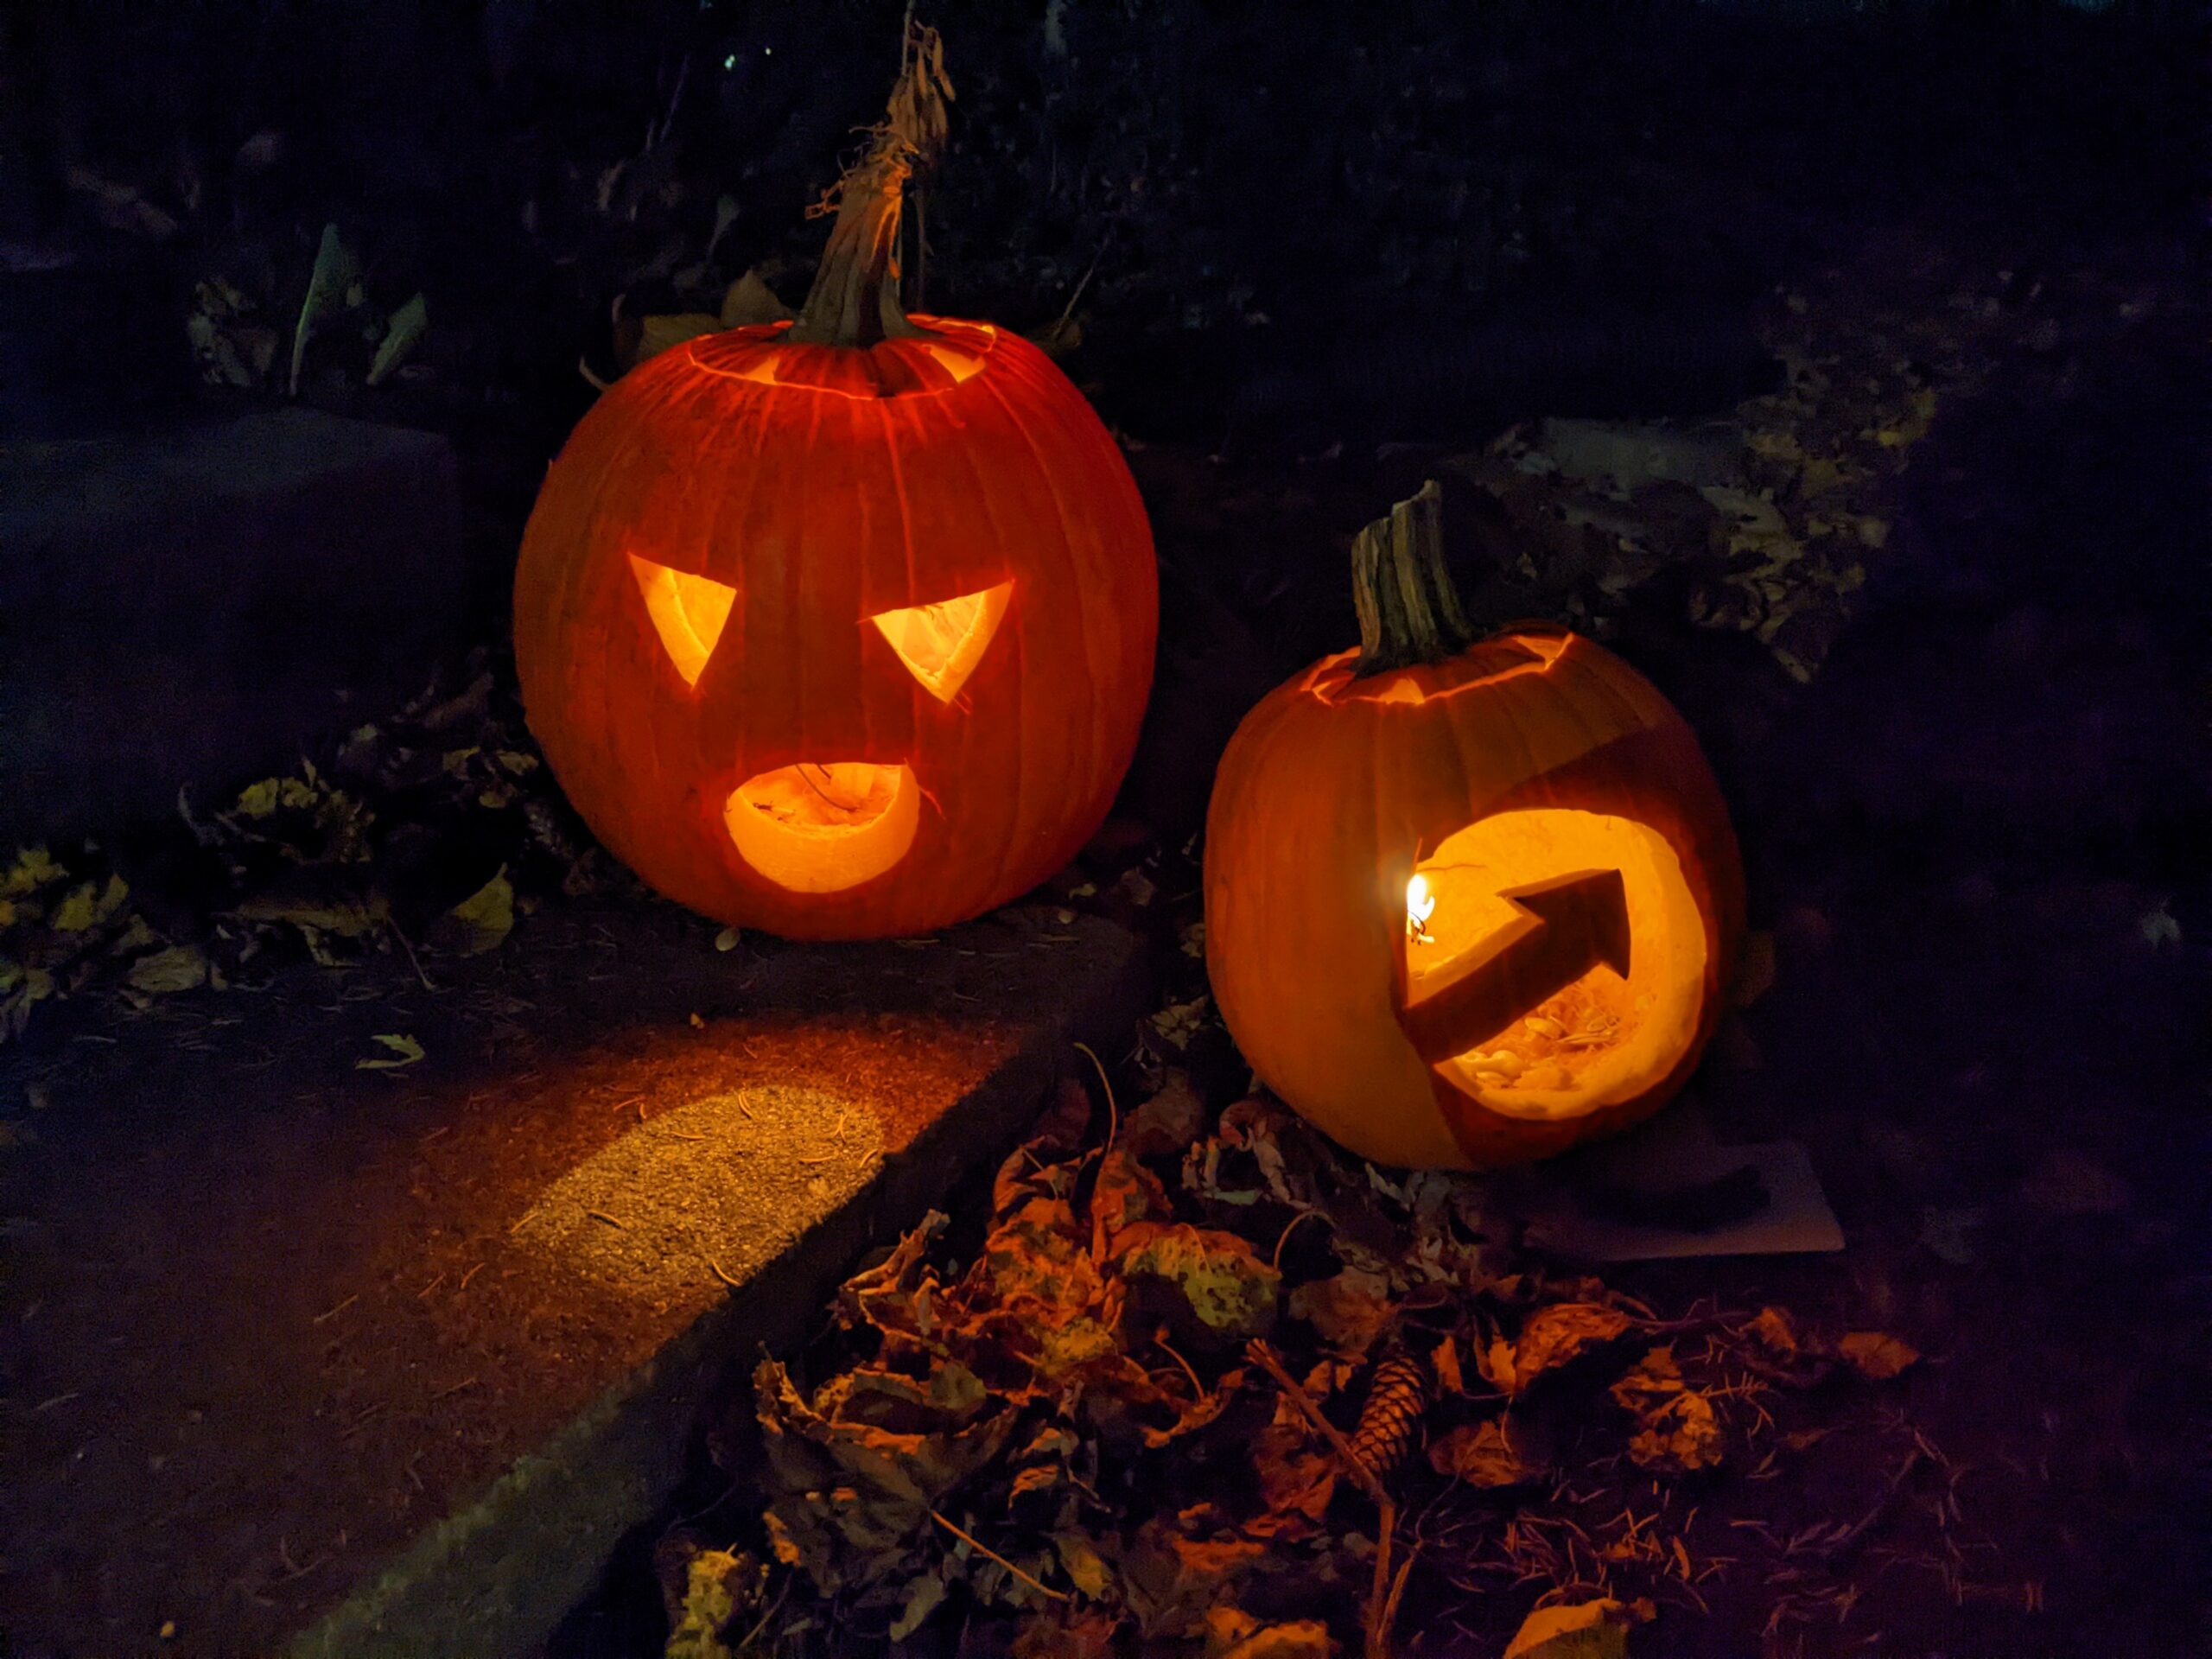
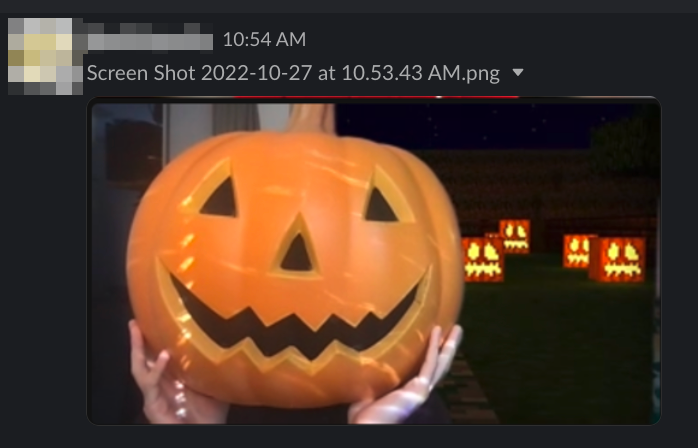
The first part of any good costume is coming up with an idea. During last year’s Halloween Town Hall, I carved a couple of pumpkins live on camera. I knew that I was going to carve again this year, but the idea of dressing up for it didn’t enter my head until one of my frontend engineer coworkers asked in #watercooler:
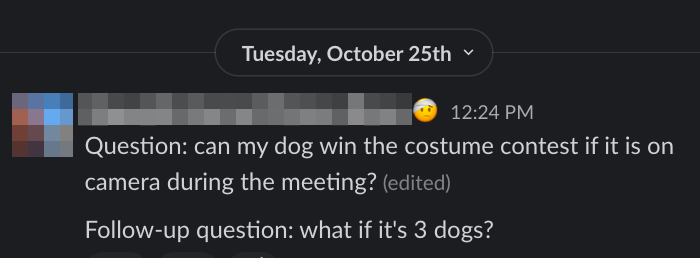
I knew immediately that I needed to make a pumpkin head for work-related purposes.
Functional Requirements
From the beginning, I knew that using a real pumpkin as a costume head wouldn’t work. A real pumpkin large enough to fit my head inside would be too heavy to comfortably wear, and then there’s the minor issue of getting pumpkin guts in my hair. I would need an artificial pumpkin.
Other important requirements for this project included:
- Being able to see out of the pumpkin while wearing it
- Limiting the cost of supplies
- Acquiring no new tools
- Limiting construction techniques to only those which have been previously used
- Documenting the development process, in order to satisfy coworker expectations
- A two-day turnaround (noon Tuesday to 10:15 a.m. Thursday)
Resourcing
Where could I find an artificial pumpkin on short notice?
After searching local drug-store and craft-store websites, I discovered that the local Target was finishing clearing out their Halloween decorations, and they had a selection of plastic pumpkins available. After work on Tuesday, I hopped on my bike and rode down to the Target to acquire a pumpkin.
Target had a decent selection of plastic pumpkins, and after weighing the various options, I chose the biggest one, to be sure that my head would fit inside.
But then I had to get it home, and my bike — freshly assembled last weekend — didn’t have a cargo rack yet. I brought bungee cords, but without a rack to secure the pumpkin, its placement was iffy.
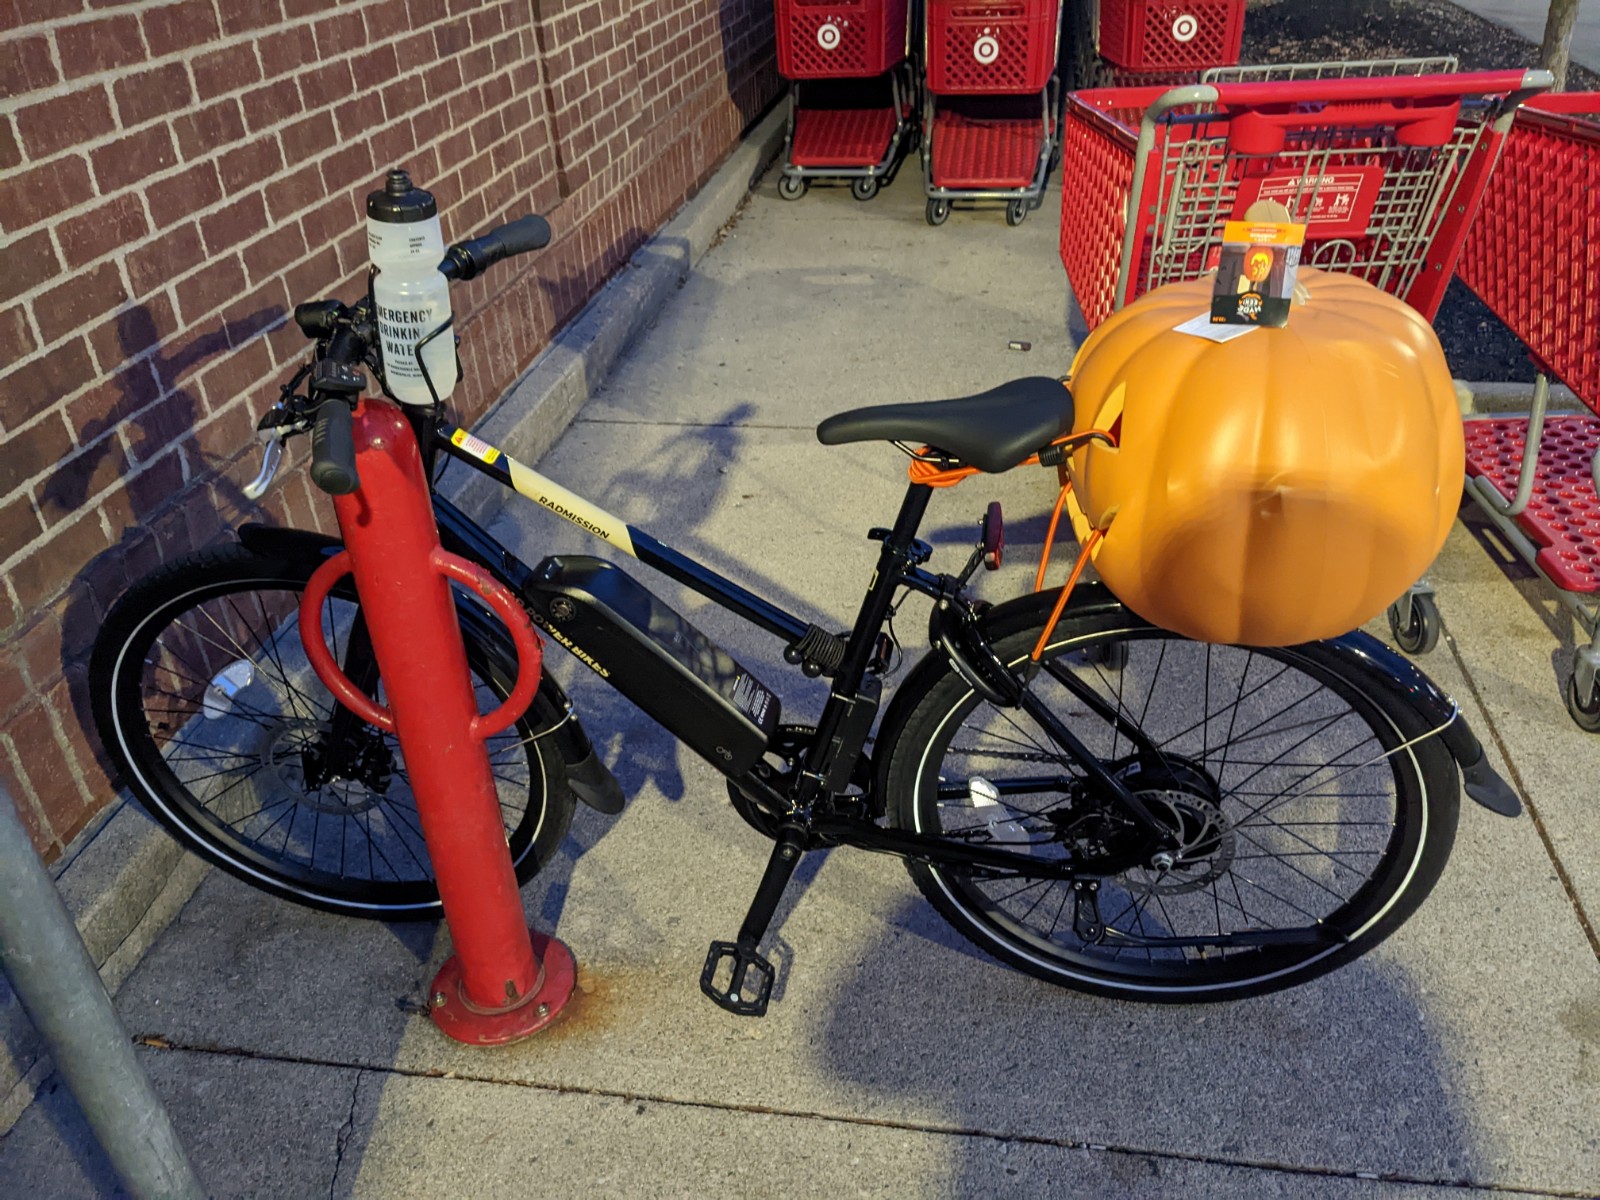
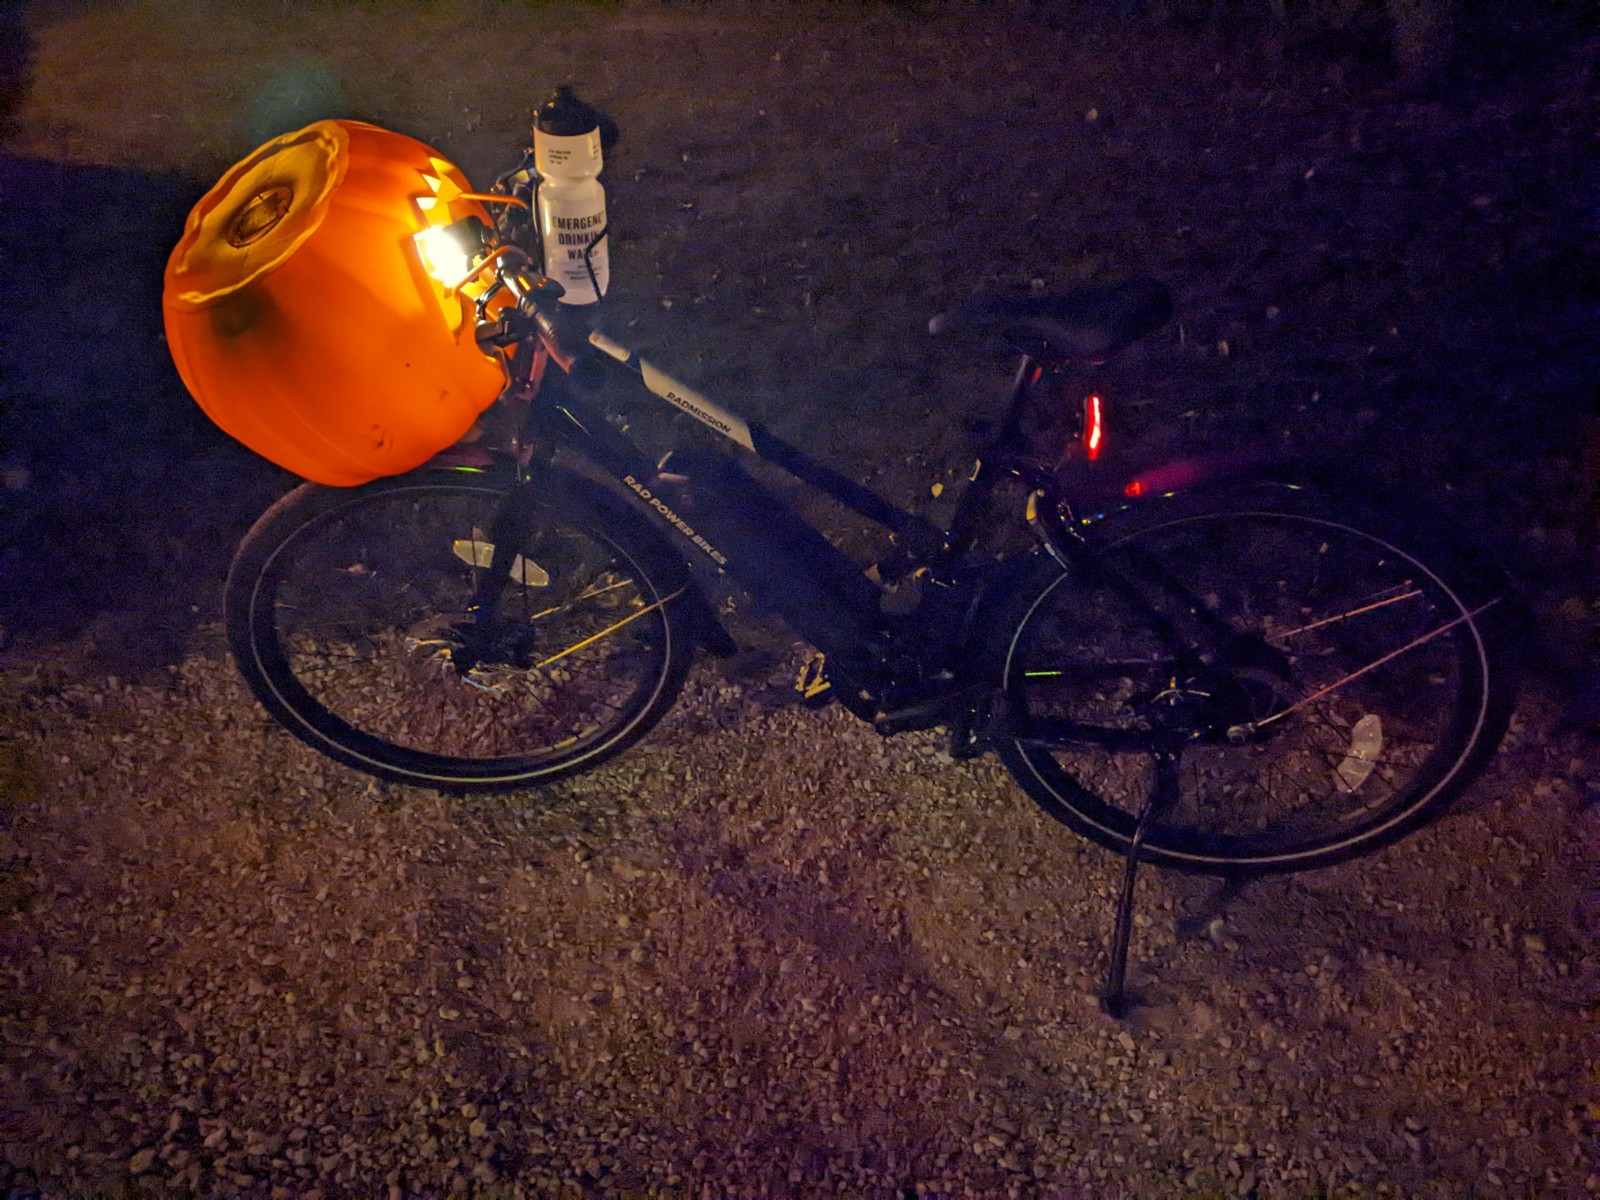
I ended up bungeeing the pumpkin to my backpack for the last mile and a half of my ride.
Development
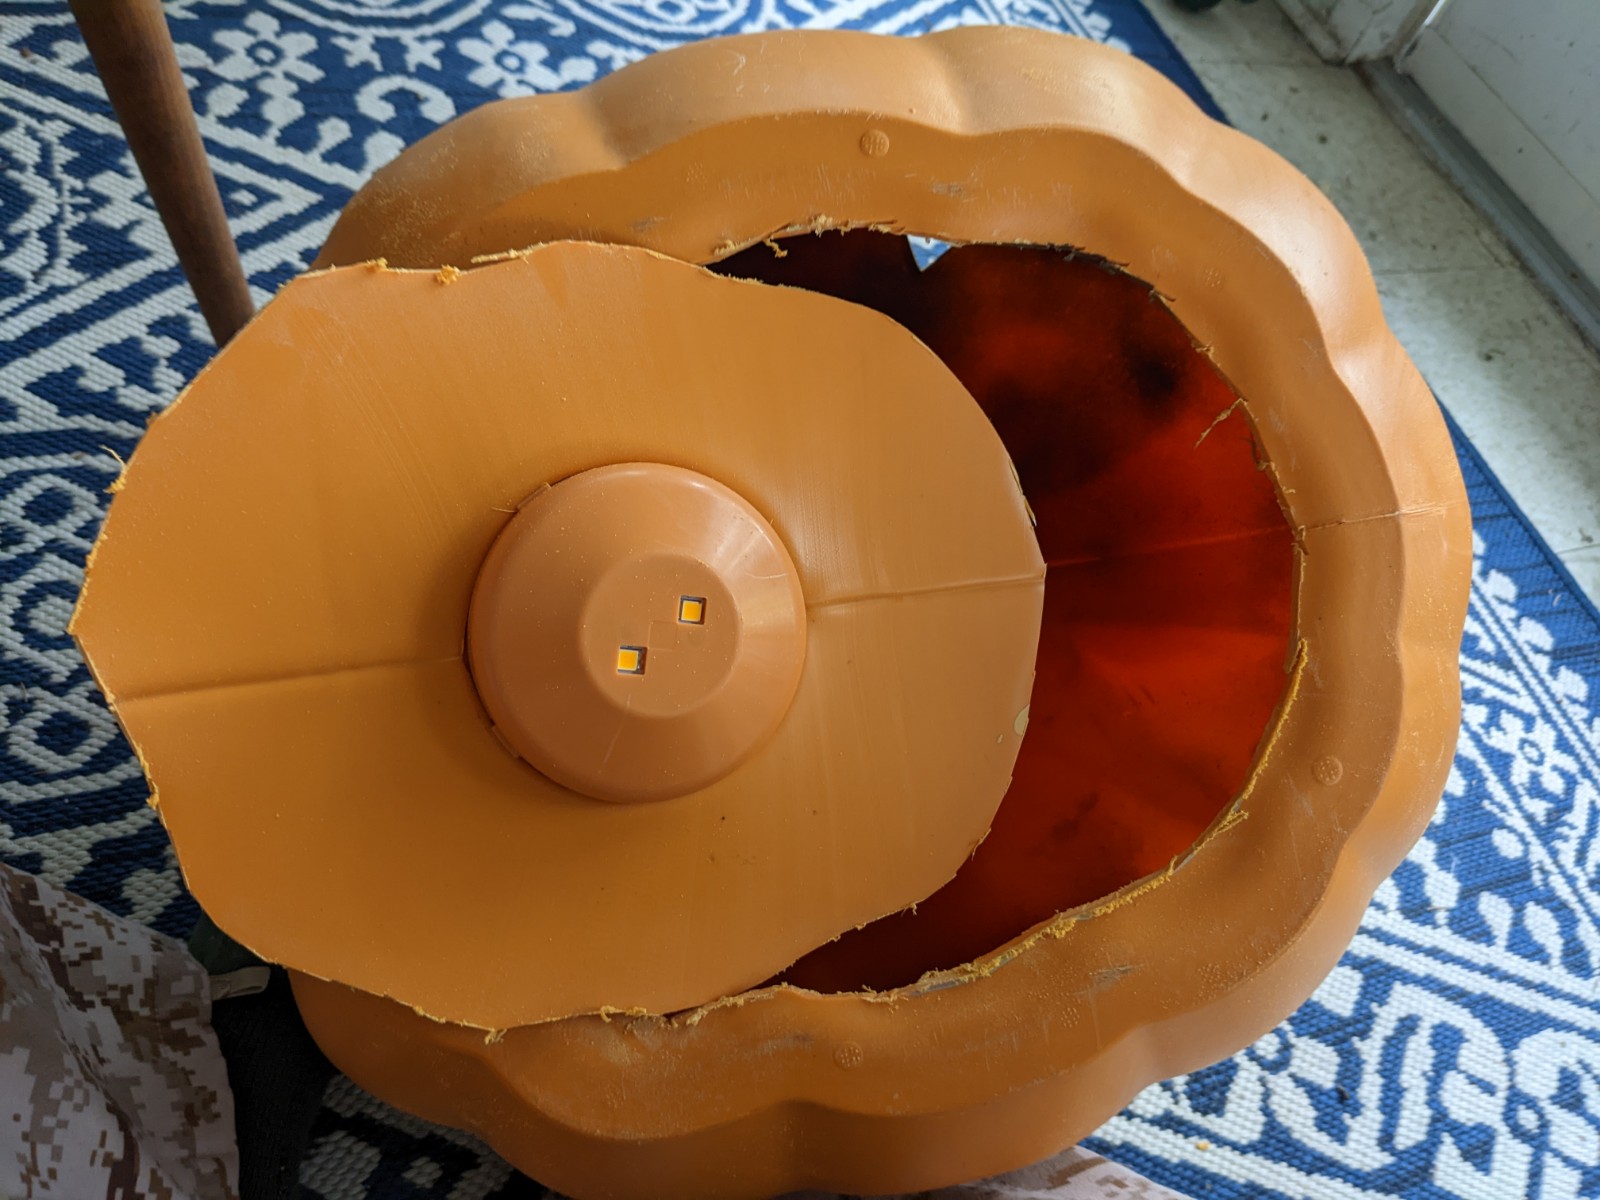
Safely home, I needed to carve a neck hole to put the pumpkin on my head. This plastic pumpkin is quite sturdy, with 3/32″ plastic walls that a boxcutter, craft knife, and cleaver wouldn’t cut. Fortunately, I have a Dremel rotary tool with cutting wheels, which made swift work of the neck hole.
Considerations
There are two important considerations to any costume mask:
- Being able to see out
- Only showing what you want others to see.
To improve the wearer’s ability to see out of costume masks I make, I paint the inside a matte black. This improves contrast and reduces glare. Unfortunately, my matte black spraypaint can ran out of paint before I could get a solid coat completed.
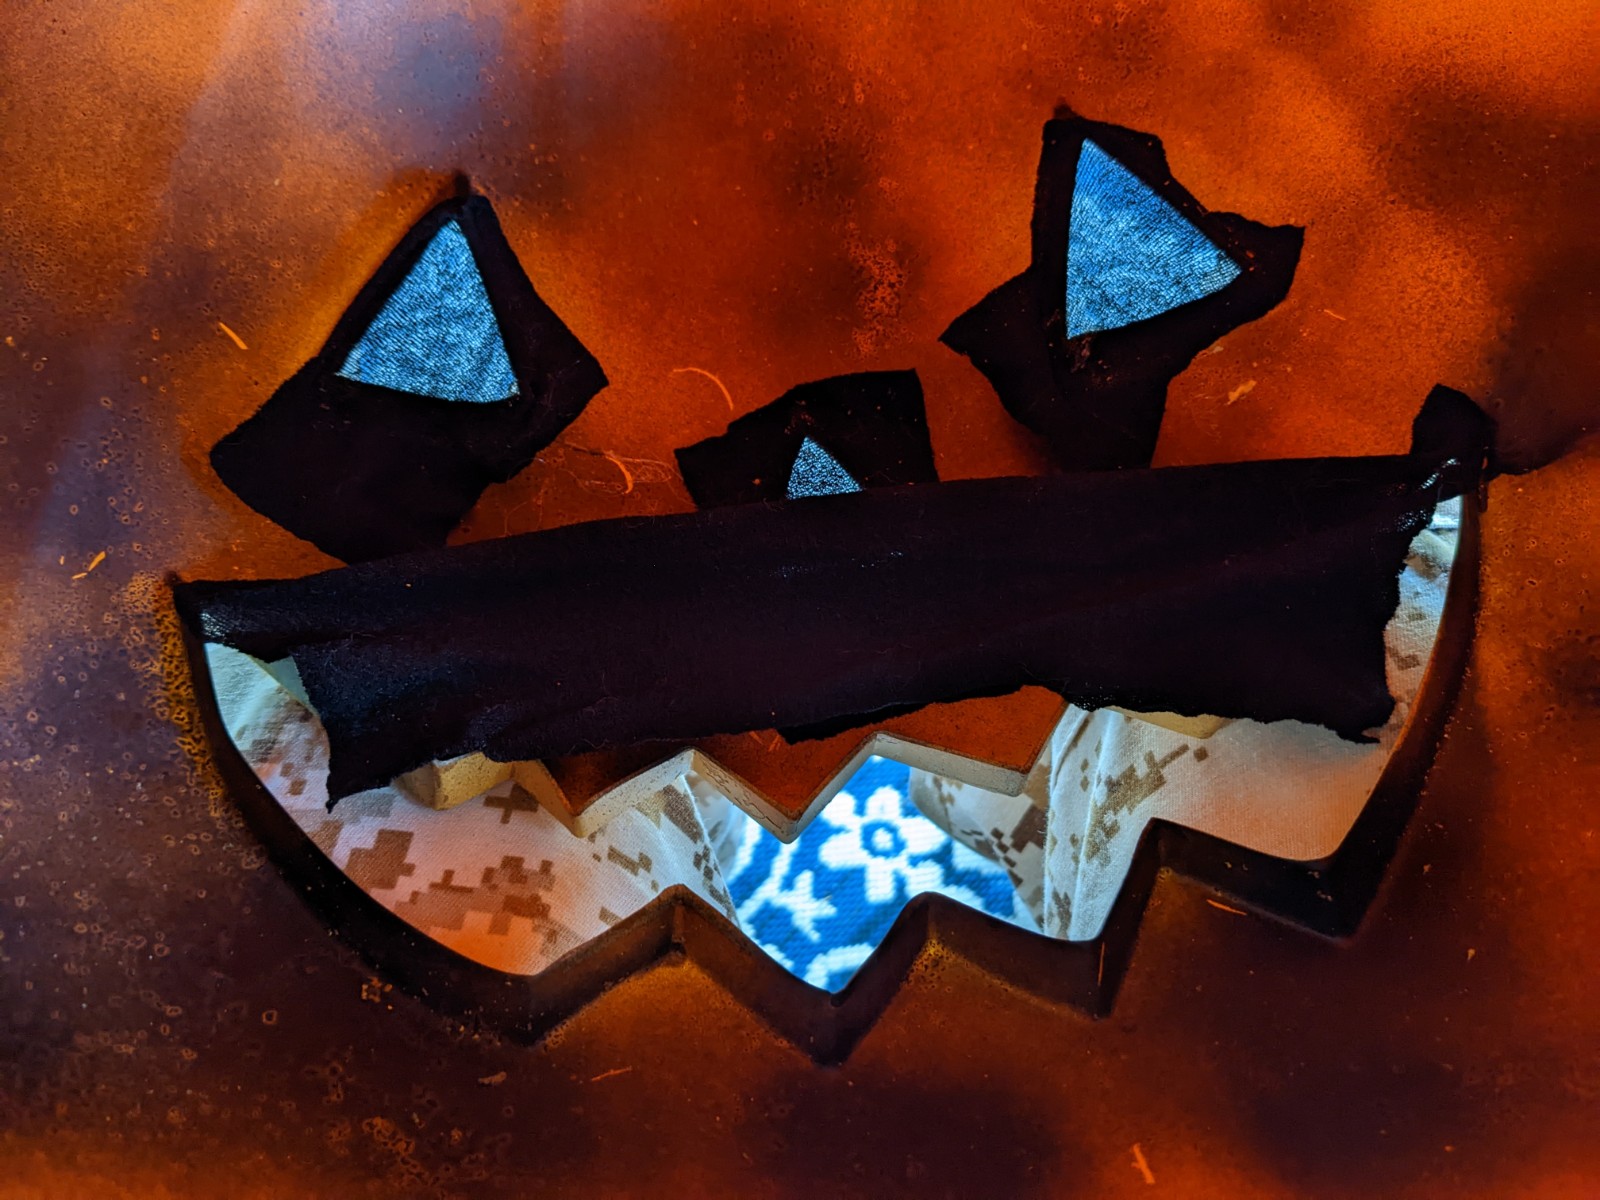
To make sure I’m only showing off what I want to show, I decided to use a stretchy black gauze, sourced from my fabric scraps bin, to filter light in the eye holes. To secure it inside the pumpkin, I used hot glue at the corners of the carvings. Hot glue worked great to bond the synthetic fabric to the plastic pumpkin.
Some scope reductions were necessary to meet the deadline. If I’d had time, and a spare construction-worker hard hat, I would have used the hard hat liner to provide a rig for wearing the pumpkin. Position the liner inside the pumpkin with zip ties, then hot-glue in hard supports made from scrap cardboard. Unfortunately, I was out of spare hard hat liners, and I didn’t have the time to do this, so when I wore this pumpkin to the first client call of the day, the pumpkin just kind of flopped around on my head.
Deployment and User Acceptance Testing
All the 10uppers on my first client call Thursday morning were wearing our Halloween best, and the client team loved it.
The floppy, unsecured head was actually a benefit, because it allowed me to move my head around within the pumpkin. The black gauze had its intended effect of hiding the head within the pumpkin head, so no one could see me frantically moving my head around in order to find my mouse pointer on the screen.
Over the course of the meeting, hot air built up in the pumpkin, and it really was quite warm. After the call, I used the Dremel to hollow out the top of the stem, to provide a chimney for air to exit the pumpkin.
Then it was time for the Monthly All Hands, and pumpkin carving.

The limited field of view really wasn’t a problem for pumpkin carving. Unlike trying to find a mouse pointer on a screen, I can feel where the pumpkin and carving tools are. But I also wasn’t carving blind, by any means! Knowing where the moving parts are let me line up my head inside the pumpkin to make sure I had a good line of sight on the tools.
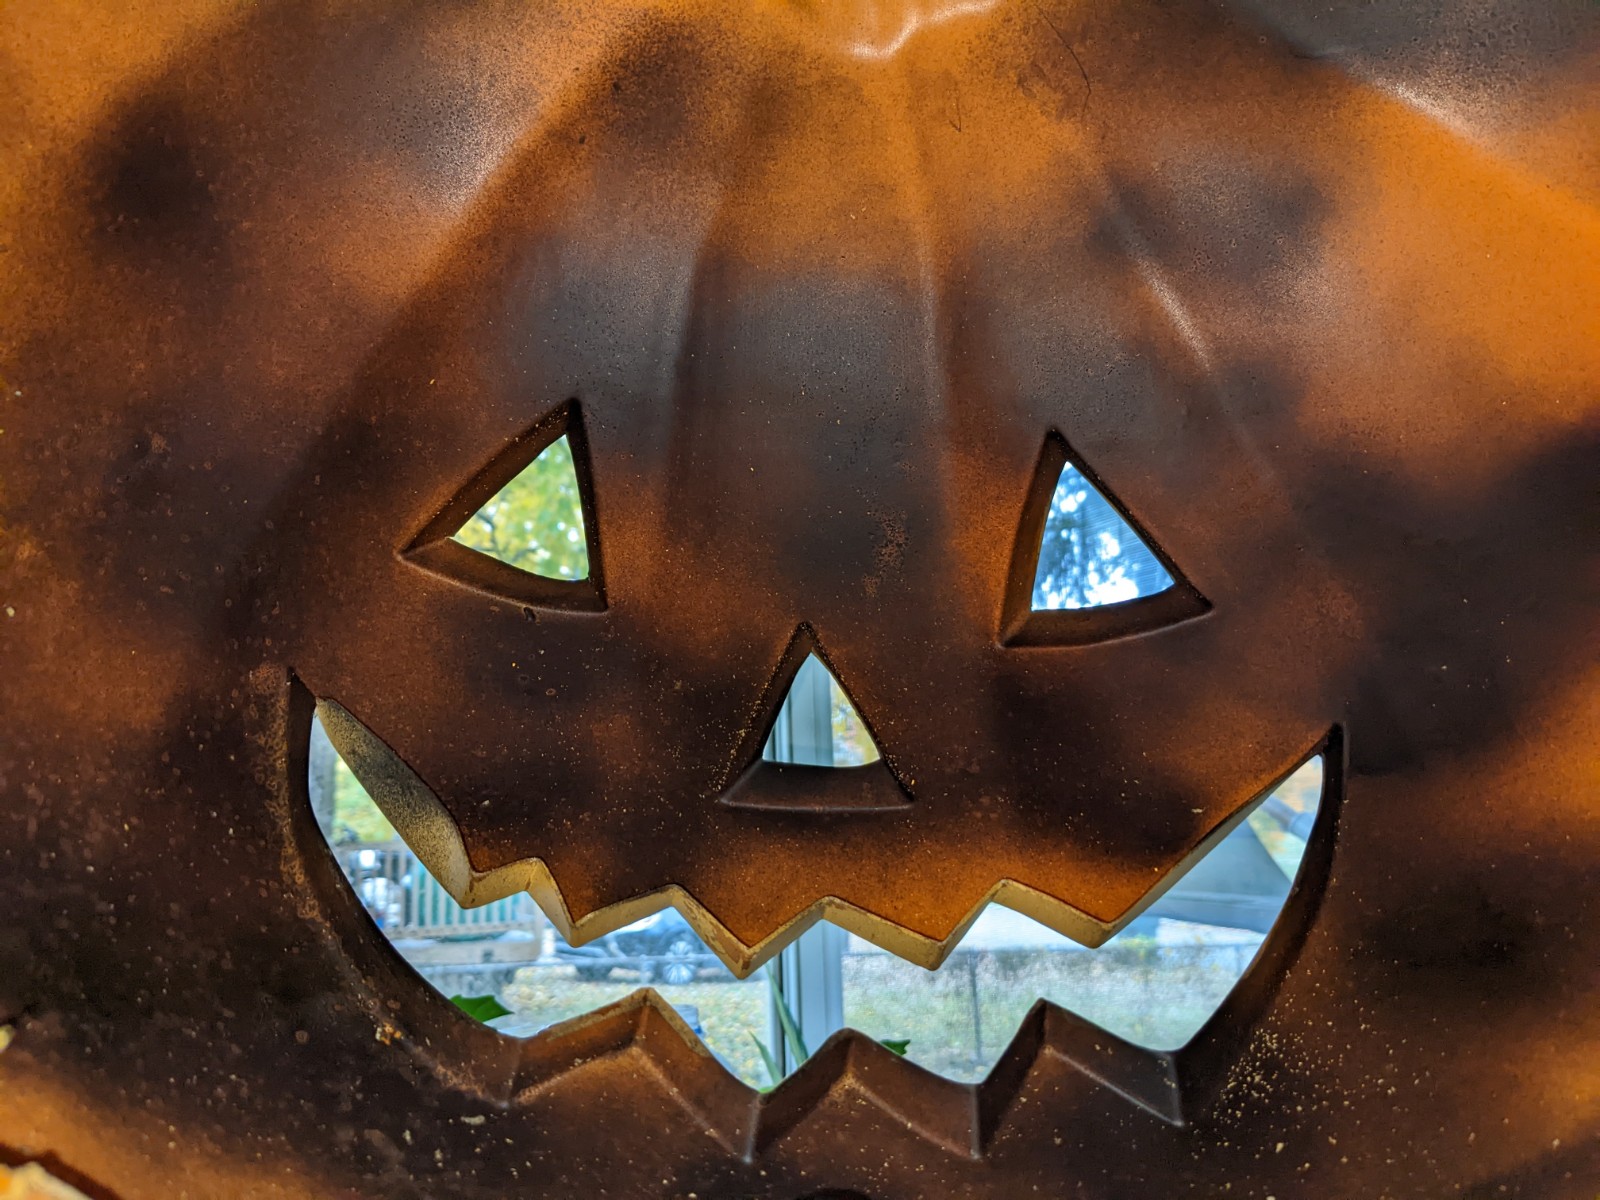
Here’s the view from inside:
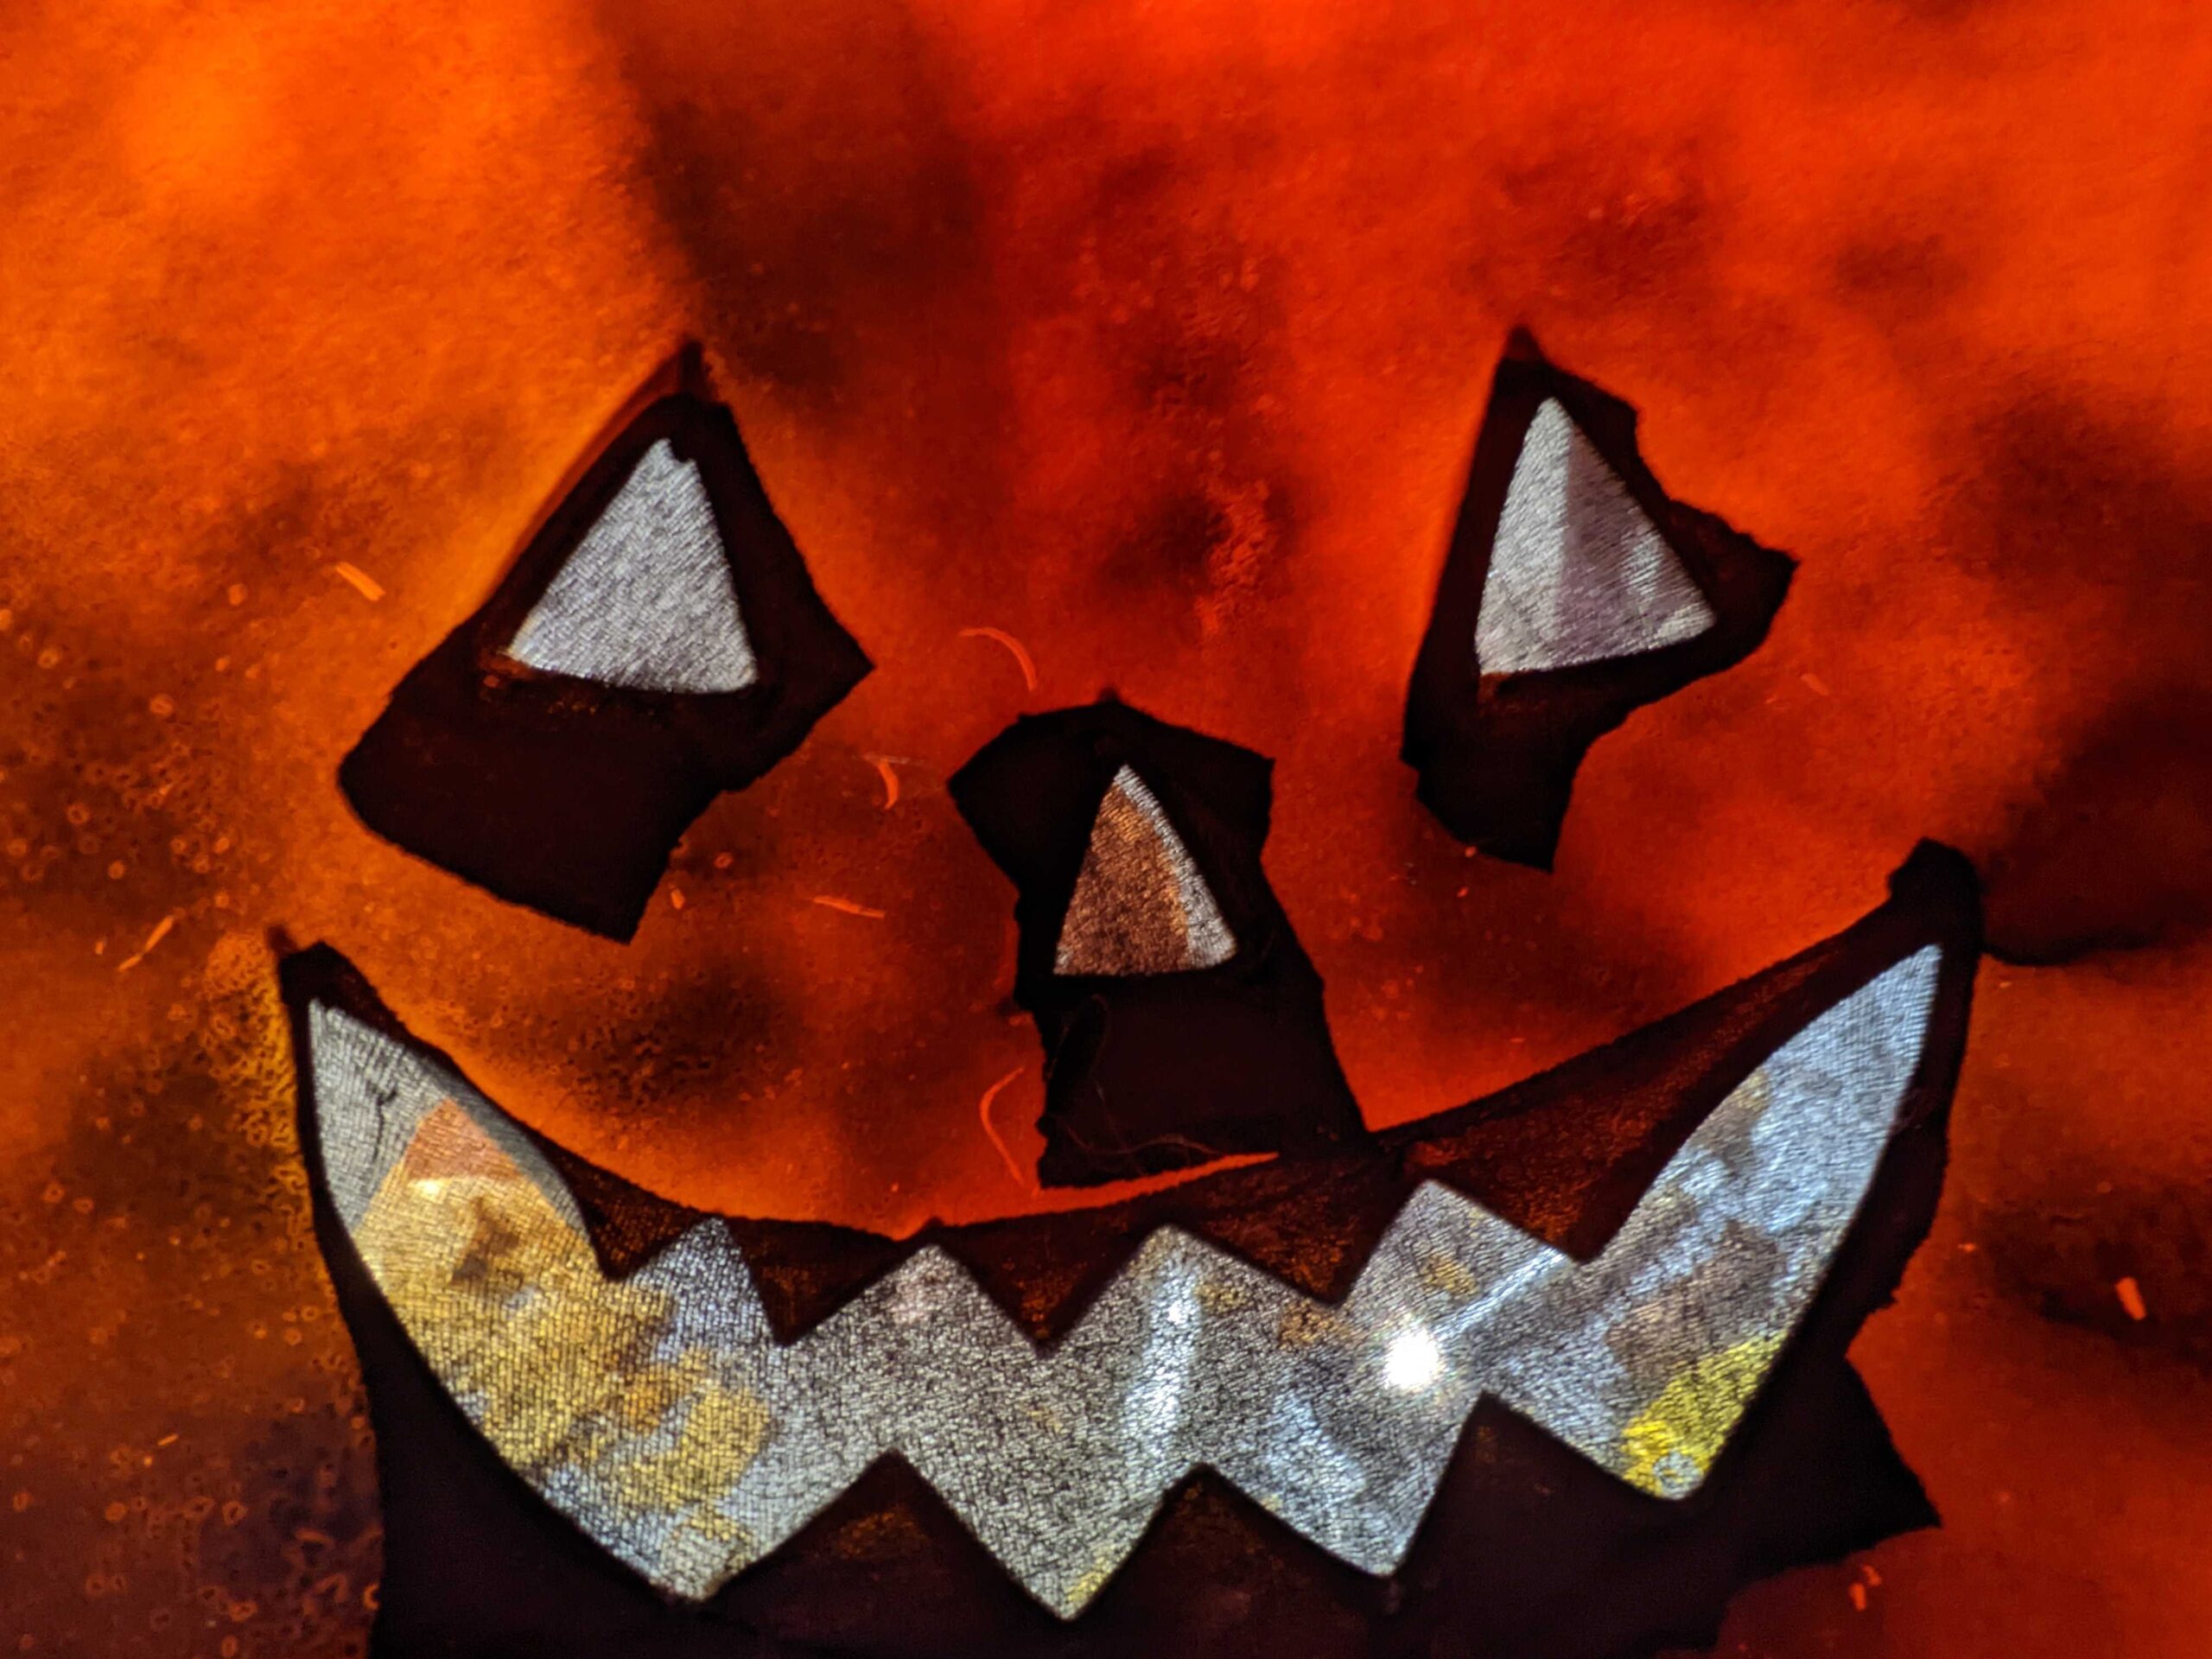
Most of the time, I was looking out through the mouth, as it provided the widest viewport.
Lessons learned
New lessons learned:
- Order the bike basket at the same time as the bicycle
- Check paint levels more frequently, and check the number of spare hard hats on hand
- Cut vents on the top of hard-shell costumes, to prevent overheating and encourage ventilation.
This project also benefited from lessons learned in past years’ costume head projects:
- Use hot glue to secure the gauze, not super glue. Cyanoacrylate super glues will take days for the fumes to finish evaporating from the mask. These fumes are noxious, and painful to have right near your eyes for any extended period of time.
- Spraypaint the inside of the mask at least 12 hours before wearing it, to allow the fumes time to dissipate.
- A Dremel tool’s cut-off wheel is often faster and easier for cutting entrances and holes in large plastic items, when compared to using a drill to make an entry and then using a hacksaw blade to cut.
- Always wear safety goggles when using a Dremel rotary tool. When the cut-off wheel shatters, its pieces go flying.
- Do your cutting, painting, and gluing in a well-ventilated space. Screened porches, driveways, and garages are all acceptable. If you must do your fuming work inside, leave the window open, and use a kitchen or bathroom extractor fan to pull fumes out of the work area.
- Plastic dropcloths make for easier pumpkin-guts cleanup than newspaper.
- A narrow blade is more maneuverable when carving pumpkins. Long and thick knives look flashy, but are awkward, unwieldy, and hard to steer.
Alternative solutions, if you’re now thinking about building your own pumpkin head for next Halloween:
- Shopping purchases can be transported on foot, by bus, or in a car, not just bikes.
- Windowscreen also serves as a good obscuring fabric for eye and mouth holes, and is easier to paint if you want to do that.
- Prefab plastic pumpkins can be substituted with papier-mâché, paper models, or 3d printing. This is a good way to diversify from pumpkins into other categories of objecthead, or even character models.
- The entry hole can be cut in a plastic pumpkin with a hot knife, or a drill and hacksaw or coping saw. For paper pumpkins, I recommend a craft knife.
- Heirloom kitchen knives can be replaced in real-pumpkin-carving duty with regular-duty kitchen knives, but plastic “kid-safe” pumpkin-carving tools are not suited to the task.
Next steps
The jury is still out on the question of whether I’m going to wear this head agin. If I choose to wear it after this Halloween, next steps include:
- Acquire a spare hard hat, and fit it within the pumpkin so that I can see out of the mouth easily.
- Touch up the interior paint.
- (optional) Build little periscopes so I can see out of the pumpkin’s eyes.
- (optional) Sew a gaiter for the neck of the pumpkin, to improve its integration with clothing.
Costs
Time invested on the pumpkin:
- 90 minutes on the shopping trip, plus other errands rolled into the same expedition
- 30 minutes carving and painting
- 30 minutes gluing
Consumables:
- Light-up plastic pumpkin (Target): $30
- Black gauze (cut-up drugstore tights): $5, maybe? This has been in my craft bin since 2014, I think.
- Black matte spraypaint: $8/can, already on hand from a summer project
- Hot glue: a pack of 100 sticks will run you about $7. I bought a pack in 2019 and haven’t run out yet. This project took one whole 4″ stick.
- Plastic painter’s dropcloths (to contain pumpkin guts): maybe $10? This was leftover from house painting in 2021.
- Pumpkins: $7 each at the grocery store
Tools:
- Hot glue gun, probably from Ace Hardware
- Dremel 200 dual-speed rotary tool with cut-off wheel, from Ace Hardware
- 7″ fabric scissors, from Joann Fabrics
- A selection of my great-grandfather’s knives, from Tru-Edge Ontario Knife Co. and Harrington Cutlery Co.
- A knife sharpening steel, of unknown provenance
- A 3-ounce foodservice ladle, McDonald’s pattern, via Amazon
Conclusion
Thank you all for celebrating Halloween this year. It’s my favorite holiday, and it’s great to see everyone put forward their best costumes. Have a happy Halloween!